NDPI Tools
The NDPI-tools allow to export cuts on slide-scans in the ndpi-format as a series of tiff-images. You can find an example image here
Getting started
To install the tools, drag the link MRI_NDPI_Tools.txt to the ImageJ launcher window and save it under macros/toolsets in the ImageJ installation. Download the NDPITools.jar, loci_tools-4-2-2.jar and jai_imageio.jar and add them to the classpath in the script that runs ImageJ. Be careful to run ImageJ with ij.ImageJ like below:
linux:
#!/bin/sh
cd /home/baecker/programs/ImageJ
./jre/bin/java -Xmx3000m -cp ij.jar:jai_imageio.jar:NDPITools.jar:loci_tools-4-2
-2.jar:. ij.ImageJ
windows:
.
jre\bin\javaw.exe
-Xmx6400m -cp ij.jar;jai_imageio.jar;NDPITools.jar;loci_tools-4-2-2.jar;. ij.ImageJ
Select the "MRI_NDPI_Tools" toolset from the >> button of the ImageJ launcher.

- The first button (the one with the question-mark) opens this help page.
- The c-button converts a number of ndpi-images to tif-images.
- The s-button allows to automatically select the different cuts on the slide
- The e-button allows to export the selections as separate images
Using the NDPI-tools
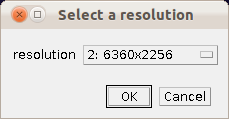
The first step is to extract an image with a given resolution from the ndpi-files and to save it as a tif-image. Press the c-button. A file-dialog will open. Select the folder that contains the ndpi-images that you want to convert. All ndpi-images in the folder must contain the same resolutions. There should be nothing else in the folder. After you selected a folder the available resolutions will be read. This can take a moment. You can then select the resolution you want in a dialog. Note that the tool will most likely not be able to handle the highest resolution.
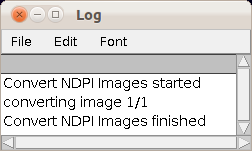
The exported tif-images will be written into a subfolder tif of the folder that contains the input images.

Once you have exported the tif-images. Open the first of them in ImageJ. Press the s-button. A selection for each cut should be added to the roi-manager. Select show-all on the roi-manager to see them. You can select a selection in the roi-manager, modify it on the image and change it in the roi-manager by pressing the Update-button. Once you are done, press the e-button. This will export one image per cut into the subfolder cut of the folder that contains the tif-images.
Options
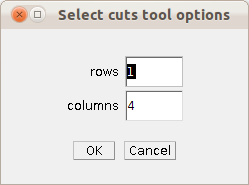
You can adjust the number of rows and columns of cuts on the slide.